Home » 3D Printing Materials » SLS technology » Alumide
Alumide 3D printing material
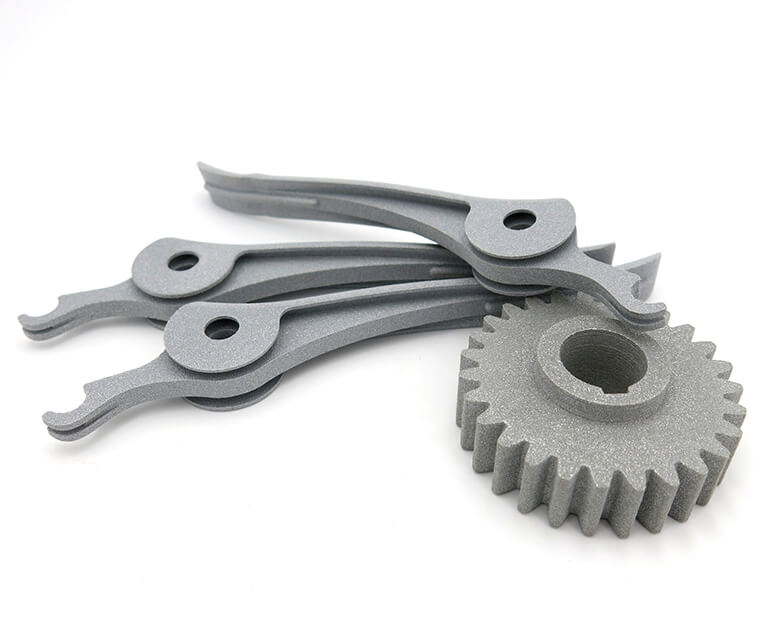
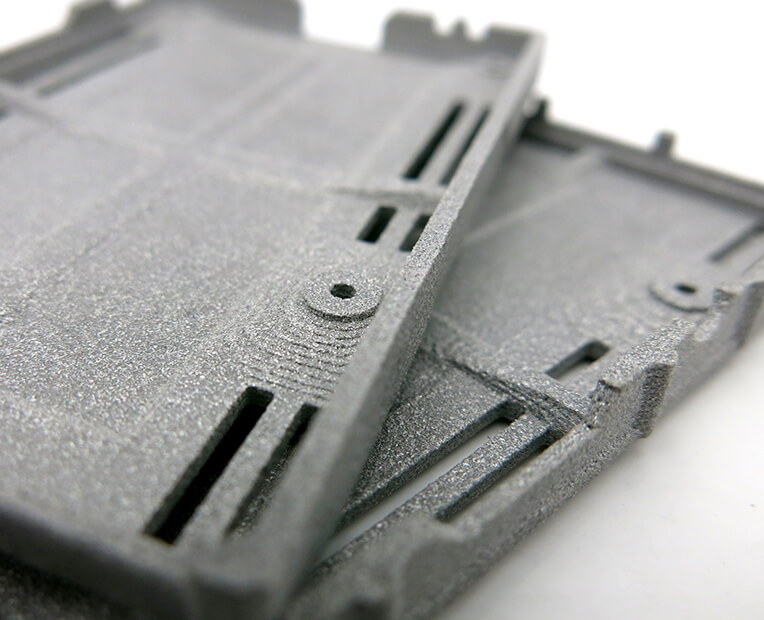
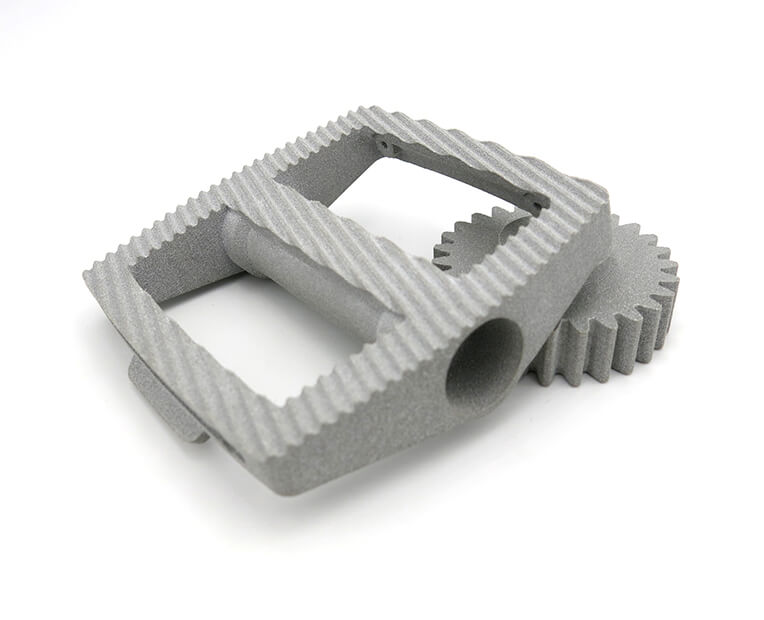
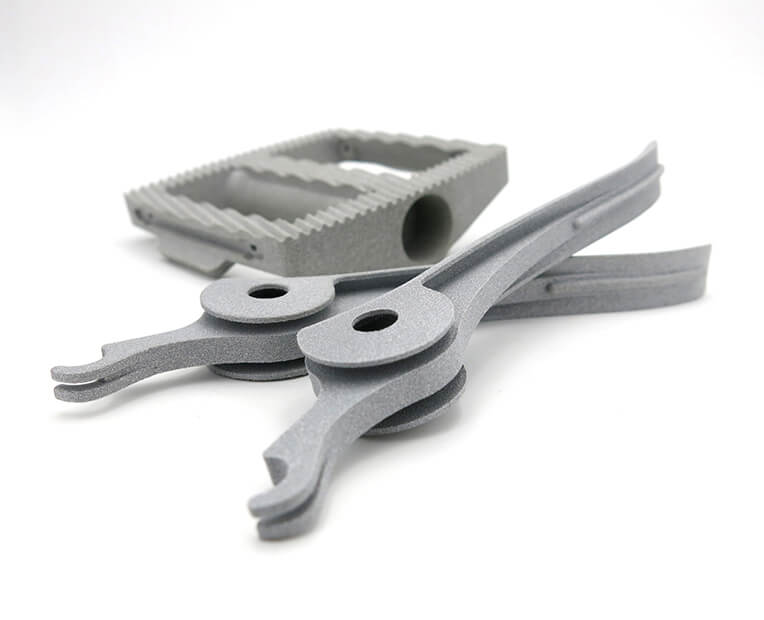
3D printed with the SLS technology, alumide is the perfect 3D printing material for all parts requiring a metallic appearance. Get all information and advice to help you print your 3D model in our Alumide (plastic) material.
Colors
-
- Raw
-

- Dyed Black
-

- Dyed Green
-

- Dyed Blue
-

- Dyed Red
Finishes
Characteristics
Alumide Material Guide
What is Alumide?
Objects printed in our alumide material are made from a mix of polyamide powder and fine aluminum particles. The raw material makes for a matte surface which is somewhat porous and shiny. Alumide is no more or less durable than polyamide. In fact, their physical properties are very similar. This makes great freedom in your designs possible – allowing for both complex and enclosed volumes.
Additive manufacturing can help you with your product development way more efficiently than with injection molding. Alumide material is a great 3D printing material to do some rapid prototyping. It could be good to work and rework on your 3D design. 3D printing products or parts of your final products is also totally possible with alumide.
To get technical specifications on our alumide material, such as minimum size, minimum clearance, minimum wall thickness & any design specification, check the technical section of the material page
What can you do with Alumide?
Alumide offers great flexibility for a 3D printing material, especially when it comes to complex models, as it is durable, and not too expensive. As a result, it can be used for ornamental objects that require a metallic appearance or mechanical parts which are subject to low stresses. You can use this additive manufacturing material for both rapid prototyping and production.
With respect to water qualities, alumide is water-resistant but not waterproof. Thus the 3D object must not stay in contact with water for extended periods of time. In terms of heat resistance, if the alumide is subjected to heat above 120°C (248°F), the physical form of the object can be significantly altered.
Pricing
The printing price of your design is calculated automatically the moment it is uploaded. As you modify your object (changing material, finishing, size, using batch control or hollowing feature, etc.) you will note that the price changes automatically. The pricing is based on a series of factors, including total volume, object size, and bounding box – to name a few.
Keep in mind that adding finishing will extend the processing time. The estimated shipping time is also calculated automatically as the object is uploaded and each time you make a modification on it. Delivery time should be added to processing time.
For more information, check our pricing page.
What is the 3D printing process for Alumide?
Selective Laser Sintering uses a highly specific laser that sinters thin powder layers of alumide together one layer at a time. After each round of lasering, the printing bed is lowered and another layer of powder is evenly swept across the top for another round of sintering. This Selective Laser Sintering process is repeated until the object is completed.
After the printer cools, the block of sintered powder is removed from the printer and the printed objects are removed by hand. A part of the powder that was not sintered is recycled back into the printer for a future print.
The object is then brushed, which removes a large portion of the powder, and sandblasted, which removes the fine powder that the brush may have missed.
What are finishing options available for Alumide?
- Raw: sandblasted but unpolished, surface remains somewhat rough, most economical.
- Polished: polished through mechanical polishing, smoother to touch, layers still somewhat visible on rounded objects.
The objects printed in a grey color, though they can be monocolored in a large bath. The available colors include: grey, black, blue, red, green.
The piece is colored in multiple steps:
- The color’s pigments are mixed in a lukewarm water bath
- The object is completely submerged within the color mixture
- Final cleaning and shipment
The dye bath and mechanical polishing machine introduce a size restriction on your object, as the object will need to be completely submerged in the tint and/or abrasives.
| Standard layer thickness: 150µm |
Accuracy : ± 0.45% (minimum of ± 0.45 mm)

Our alumide 3D printer, the EOS P395 gives us a layer precision of 150 µm (0.15mm).
| Maximum size raw grey/unpolished | 190 mm x 240 mm x 315 mm (7.48 in x 9.45 in x 12.40 in) |
| Maximum size colored | 190 mm x 240 mm x 315 mm (7.48 in x 9.45 in x 12.40 in) |
| Maximum size polished | 180 mm x 150 mm x 150 mm (7.08 in x 5.91 in x 5.91 in) |
 The maximum size of your models are limited by the physical size of our 3D printers – nothing can be printed larger than the printer bed -, the one of our mechanical polishing machine and dye baths.
Your object must also respect the minimum dimensions of alumide 3D prints.
| Minimum wall thickness | 1.5mm
|
| Minimum wall thickness particular design aspects | 2mm
|
The walls of your design must adhere to a minimum thickness of 1.5 mm in order to guarantee the structure will not break. If the walls of your model are less than 1.5 mm, we recommend you thicken them or add a support structure to maintain stability.
For an object that is sure to be solid, a minimum thickness of 2 mm is recommended.
Sculpteo offers an online solidity check tool which highlights parts of the print that may be too thin for a print. From there you are able to tweak your design in order to create an object that is an appropriate thickness. To use it, you just need to upload your 3D file, select your material and click on “Verification” tab.
It is also important to keep in mind that the object is to be printed in a physical form. Thus if a thin aspect is supporting something that is too heavy for it, it may break – even though it is possible with the physics provided within the 3D printing program. We recommend adding a bit of thickness to the places that will get a lot of handling, or that support the most weight.
Do not forget
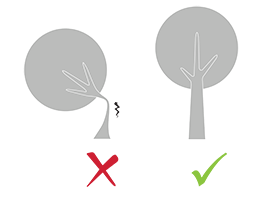
Keep in mind that our solidity check tool does not detect physical aberrations such as floating parts, unstable position, parts supporting too much weight relative to their thickness, etc. Particular care must be given to the geometry of your design and the most stressed parts must be thickened.
| Minimum size of details | 1 mm |
| Minimum size of text | 1 mm |
| Enlargement ratio | 1/1 |
A detail’s minimum precision is mainly determined by the resolution of our printers. However, during the cleaning process, a fine layer of detail can also be lost. In order for detail and text to be visible, we recommend following our recommended sizes at the very least. To ensure a better powder removal (thus a better detail precision), the width of your details must be at least as big as depth.
It’s possible that particularly fine embossings and engravings will not be visible, as the carving could get filled with excess powder that is later unable to be cleaned out. If an embossing or engraving is an essential part of your design we recommend making them as deep as possible.
| Enclosed parts ? | Yes |
| Interlocking parts ? | Yes |

Our alumide material has the ability to be printed in some complex designs. An example of a complex design is a volume enclosed within another volume or with articulations. Our alumide 3D printers have the ability to print in a fully interlocked object out of the printer, with no support structures to remove.
| Minimum spacing between fixed walls | 0.5 mm |
| Minimum clearance between parts | 0.5 mm |

For a successful 3D print a minimum clearance between objects is required to allow excess material to be sand blown out. If this space is not left within the design, the object will be a solid. This is particularly important for articulated objects – as the space left between the walls will define the object’s ability to move.
Clearance should be at least 0.5 mm and depends on your objects size. For big sizes, the clearance should be greater. The heated zone of your object depends on the size, the larger the object the more time it will be exposed to high temperature : if the space left between the walls is too small, it will be weld because of heat spreading.
| Assembly ? | Yes |
| Minimum space | 0.5 mm |

Objects printed in alumide can be printed to be assembled. As long as a width of at least 0.5 mm is left between the different parts of the object.
| Hollowing ? | Yes |
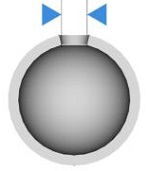
Our online hollowing optimization tool has the ability to greatly reduce the price of a print by reducing the amount of material used.
Using the tool requires adding two holes to your model, which will serve as the drain for the excess powder material within the object. The minimum size of these holes is determined by our website. Otherwise, it is possible to hollow your object manually in your 3D modeling software.
| Files with Multiple Objects ? | No |

It is not possible to 3D print a 3D file containing several objects with alumide.
Ready to 3D print with Alumide?
With Sculpteo’s online 3D printing service you’re just a few clicks away from professional Alumide 3D printing. Your 3D model is printed with the highest quality and delivered straight to your door.
Get started now!


 Connect with Google
 Connect with Facebook