Fused Deposition Modeling (FDM)
Ultimaker 2
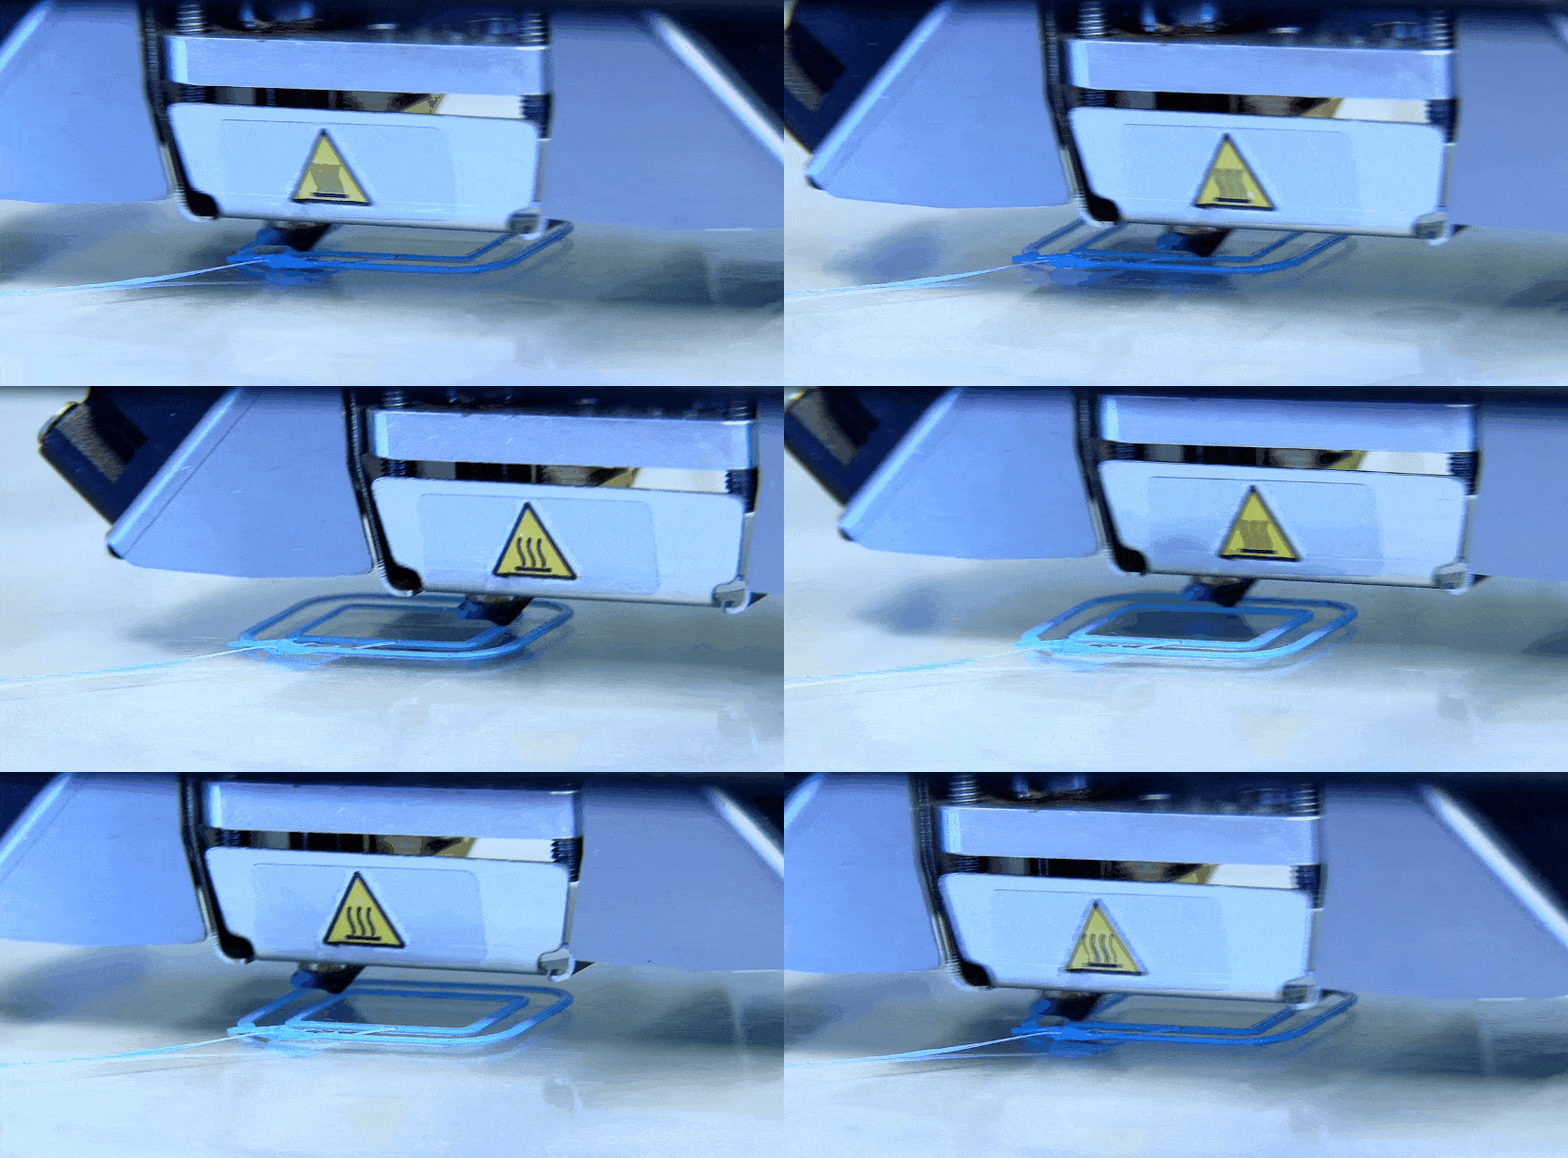
The most democratized additive manufacturing method, Fused Deposition Modeling works by extruding a thermoplastic polymer through a heated nozzle and depositing it on a build stage. FDM machines are the most affordable, especially for individuals that do not have a company’s budget. Many brands today are available pre-built like MakerBot and Ultimaker, two of the most popular desktop 3D printers, or can be built using DIY kits or going from the ground up and printing parts to create an FDM 3D printer.
The concept behind FDM printers is simple: a plastic filament runs through the nozzle and melts when in contact while being gradually deposited in a structured way on the printer bed until the object is finished. The plastic used in FDM filaments are generally ABS (Acrylonitrile Butadiene Styrene), PLA (Polyactic Acid) and Nylon (Polyamide), but other exotic varieties of materials can also be used, like a material blend of plastic and wood or carbon.
The FDM technology is a quick technique to manufacture your 3D project at home, but this technique won’t allow you to reach a professional or industrial result.
Stereolithography (SLA)
Formlabs
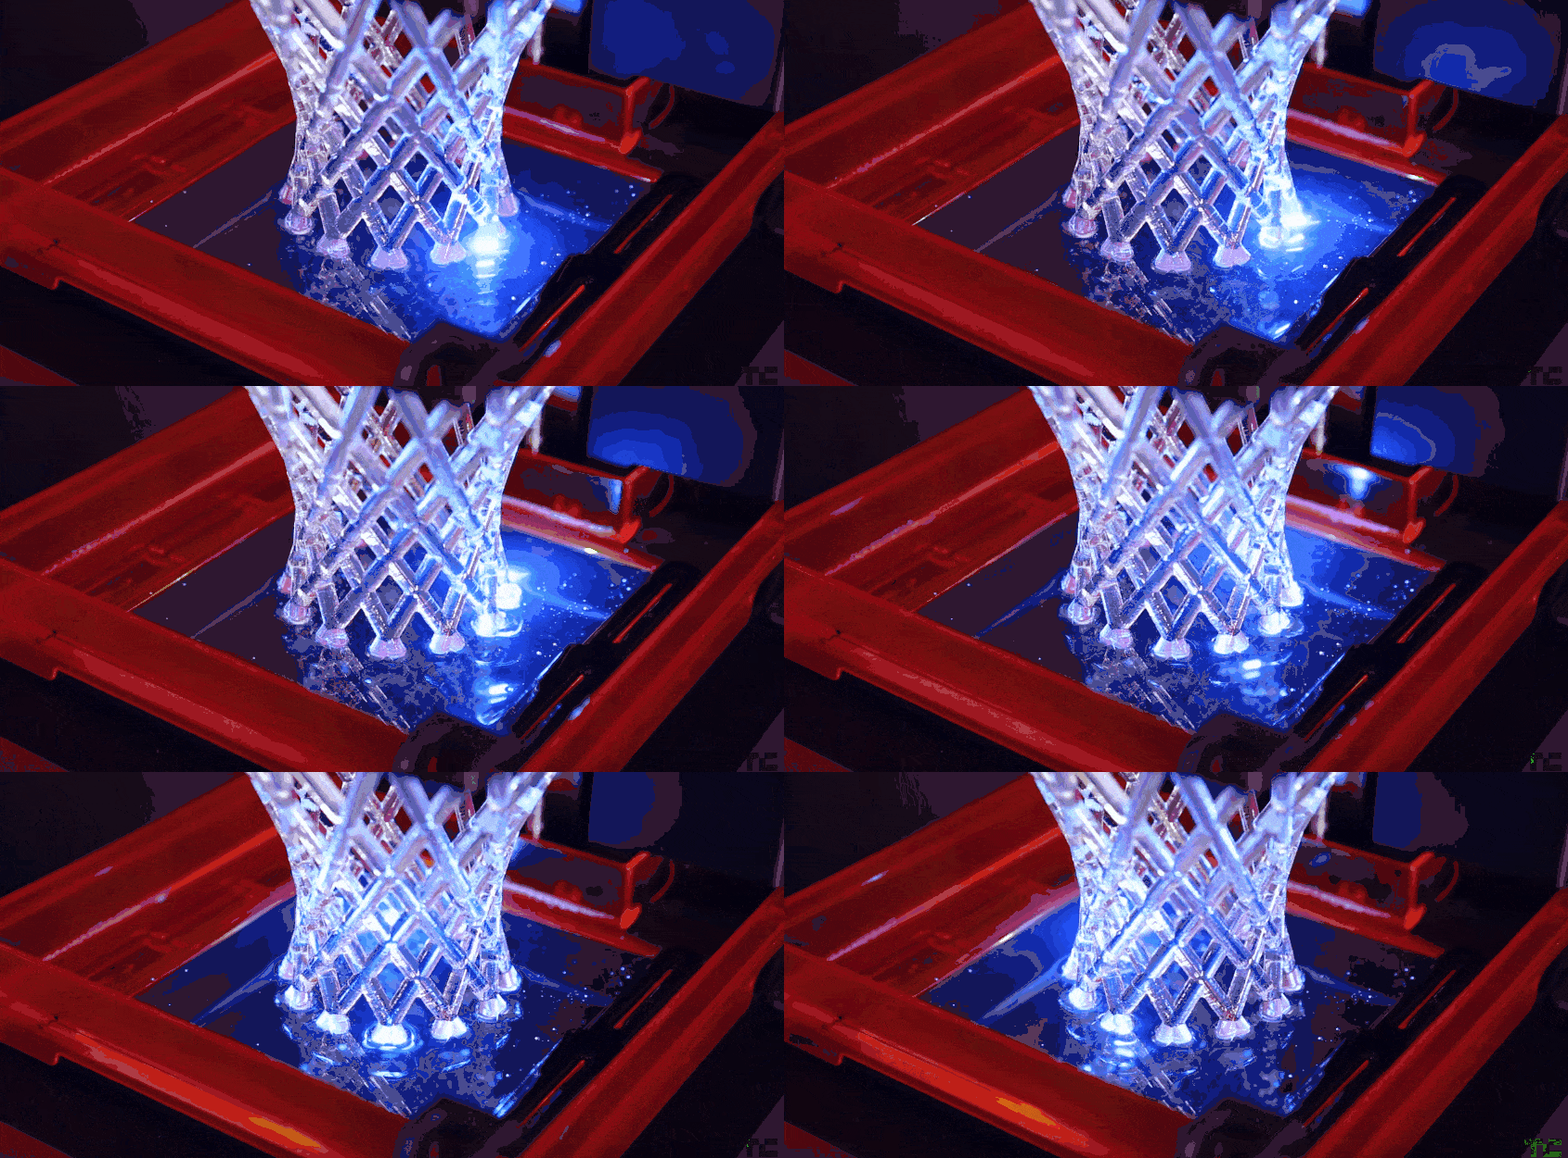
Stereolithography was one of the first additive manufacturing technologies to be theorized and patented in the 80s. The concept behind it, though there are many variations today, is quite simple: a near-UV laser beam is focused and quickly draws a 2D section of the design on a thin layer of liquid photopolymer resin. The photosensitive resin polymer then reacts and solidifies forming a single 2D layer of the design. Depending on whether the laser comes from below (like the above image) or from above, the object is raised one layer depth while still in contact with the resin, or a new layer of resin is applied to the object, respectively. Then the process is repeated for each new layer of the design until the 3D printed object is complete. The final step is to clean the completed object soaked in resin and remove the eventual support structures.
SLA has also seen a popularity as desktop 3D printers but is usually sold pre-built like SLA 3D printer Form 2 from Formlabs or the Ember from Autodesk. FDM and SLA 3D technology are two really effective manufacturing methods. However, such printers are much more expensive than FDM printers, as their costs range from the thousands of dollars/euros ($3,499 for the Form 2, $5,995 for the Ember).
Carbon DLS Technology
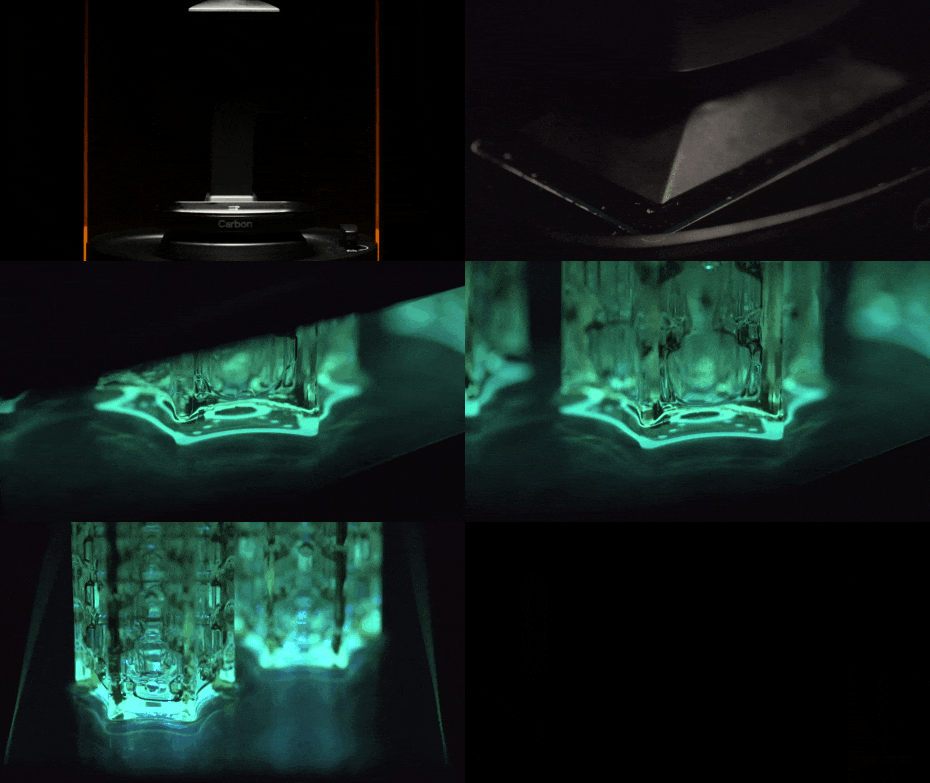
This 3D printing technology works by projecting a continuous sequence of UV images, generated by a digital light projector, through an oxygen-permeable, UV transparent window, below a liquid resin bath. It creates a dead zone above the window which maintains a liquid interface below the part. Above this dead zone, the cured part is drawn out of the resin bath. This 3D printing technology was first introduced in February 2014. A few months later, the company Carbon 3D was created to commercialize it.
Thanks to the Carbon CLIP technology and their resin 3D printers, we can 3D print parts with high mechanical properties. These parts are as precise as SLA printed parts and can be 3D printed much faster thanks to the continuous process. Thanks to the engineering resins, you can obtain flexible material or a highly resistant one for technical parts, but also 3D printed parts with smooth surface.
To learn more about the CLIP resins, you can visit our CLIP material page.
Selective Laser Sintering (SLS)
EOS Formiga P110
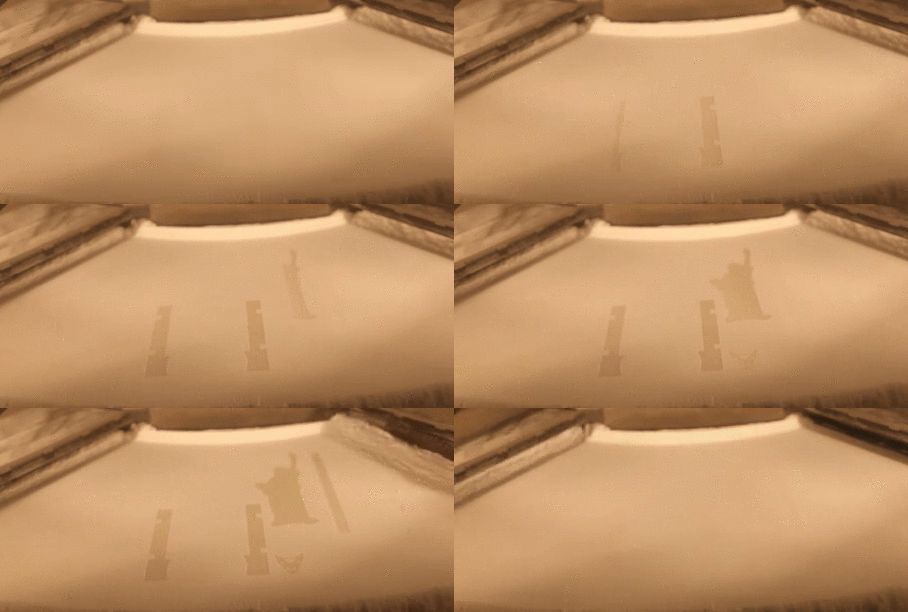
Last but not least, the technology mostly used at Sculpteo: Selective Laser Sintering. The concept is quite simple, but the execution is usually reserved to professional companies and online 3D printing services as ours, since SLS printers are usually large (as large as a double door American fridge) and costly. To summarize the idea behind it, a powder from a container is swept upon the build stage by a recoater, a laser then selectively scans the thin layer of powder, sintering together powder particles in the shape of the cross-section of the first layer of the design, as we can see in the image above. The build platform is then lowered one layer depth and the recoater applies a new coat of powder. Just like the first layer, the second cross-section of the 3D design is scanned and sintered while being adjoined to the first layer making a solid part. The process is iterated until the object is completed and the 3D part is built layer by layer. The tray containing the completed object is then removed, and the objects are de-powered. No further process is needed after the printing process, unless you want to apply any additional surface finishes (paint, polish, dye, smoothing beautifier…).
Compared to stereolithography and FDM, SLS does not require support structures since the powder acts as a self-supporting material. This allows intricate and complex geometries to be constructed, there is an almost complete design freedom. However, the cost of a machine is pretty steep, which is why it is mainly used for industrial applications. Sculpteo, however, has made it available for everyone!


 Connect with Google
 Connect with Facebook


