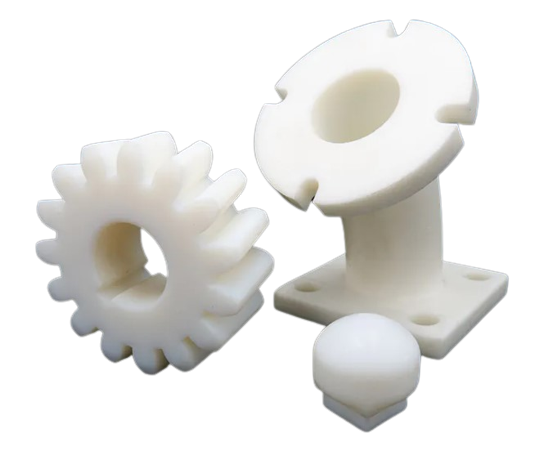
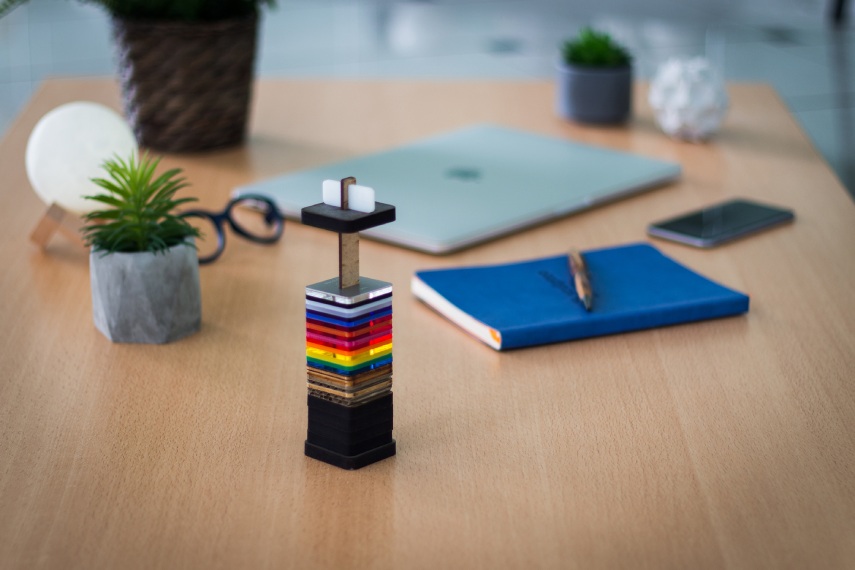
Depending on the equipment, there are numerous ways to approach additive manufacturing. Many workflow processes follow typical industry-standard procedures to create the final component. Here is a breakdown of the production flow, that can be adapted to 3D Printing with Polyjet material jetting.
Creating a 3D Model
First, the process begins with engineers using computer-aided design (CAD) software to sketch a 3D model for the object. In this following article, you can find a list of all the best CAD softwares we recommend. The technology gives specialists access to machine learning systems that can propagate remarkable graphic and conceptualization flexibilities. As a result, it lets teams create mock-ups with high design accuracies to ensure they replicate the final product specifications and requirements in detail.
STL File Creation and Transfer
After creating the 3D models, manufacturers convert the CAD files into an additive manufacturing file (AMF) format known as the standard tessellation language (STL). It is the most commonly used file format in rapid prototyping. An STL file describes the surface geometries of an object using tessellation and triangulation concepts. At this stage, experts can adjust delineation parameters like edges, vertices and polygons before importing the data onto a slicer program. The application then slices the parts into 2D layers and transforms them into a G-code file that 3D printers can decipher.
Before printing your 3D Files, make sure you apply the recommended design guidelines, in order to avoid these common mistakes.

Here is our Sculpteo Studio team at work !
Component Production
At this point, experts prep the equipment by selecting the desired photopolymers, orienting models, setting temperature, appropriating support structures and levelling the build platform. With everything set, they load the photopolymers, binder and other consumables into the resin-holding container for heating. Finally, they upload the G-code file to the M-Jet 3D printer, kicking off production.
As mentioned earlier, PolyJet printers contain parts like an actualization chamber, resin-holding compartment, inkjet print heads and UV curing light. During production, the Material Jetting machines print out a 3D component layer by layer, according to the set specifications in the G-code file.
Here’s how they print parts:
- First, the material jetting 3D printer heats the photosensitive resin to an optimum temperature to achieve a viscosity suitable for extrusion.
- Next, the inkjet printer head rapidly discharges the hot liquid resin onto the printing slate systematically in ultra-thin layers.
- Immediately after, ultraviolet light passes over each layer to harden the liquid resin and keep the print from warping or deforming.
As production progresses, engineers may regularly monitor temperature levels, UV light exposure and resin consumption to minimize waste and optimize resource use. It is a repetitive layering and curing cycle that ends with a fully functional end product. Usually, multi-jet printers use the X, Y and Z 3D printing positioning system to deposit photopolymers on a build platform. The mechanism helps experts increase precision and turnaround speed.
Post Production
In the final step of the process, skilled technicians detach the gel-like support structures from the printed component by hand, using heat or a solvent. Although the Material Jetting 3D printing machines produce ready-to-use objects with smooth finishes that don’t necessarily need a lot of post-processing, sometimes experts can polish the final product to achieve higher aesthetic qualities.
Depending on the complexity and scope of operations, manufacturing products using M-Jet equipment can take hours, days or even months to complete. Why, then, should industrialists consider it? Let us look at the advantages and disadvantages of material jetting technology.


 Connect with Google
 Connect with Facebook

