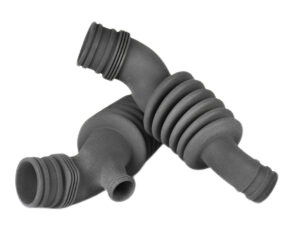
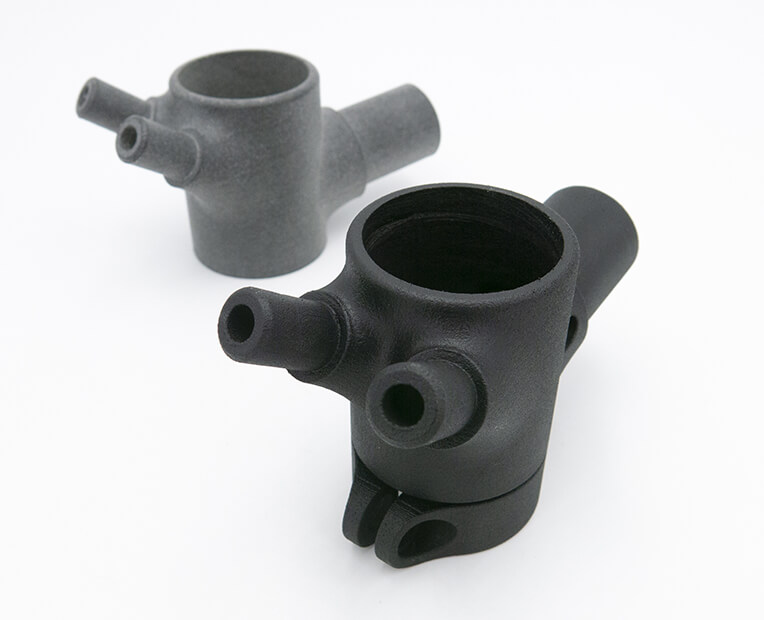
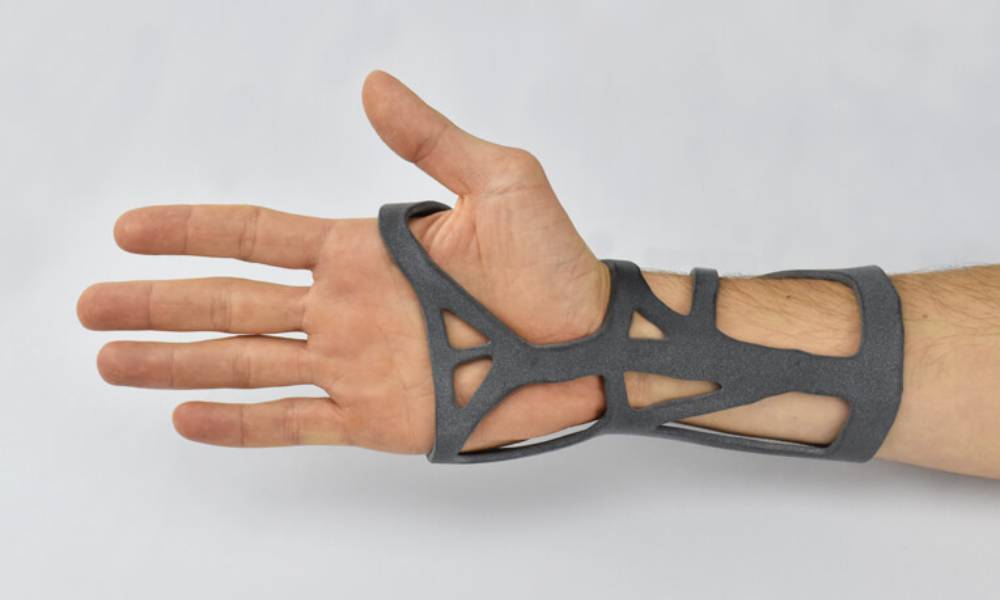
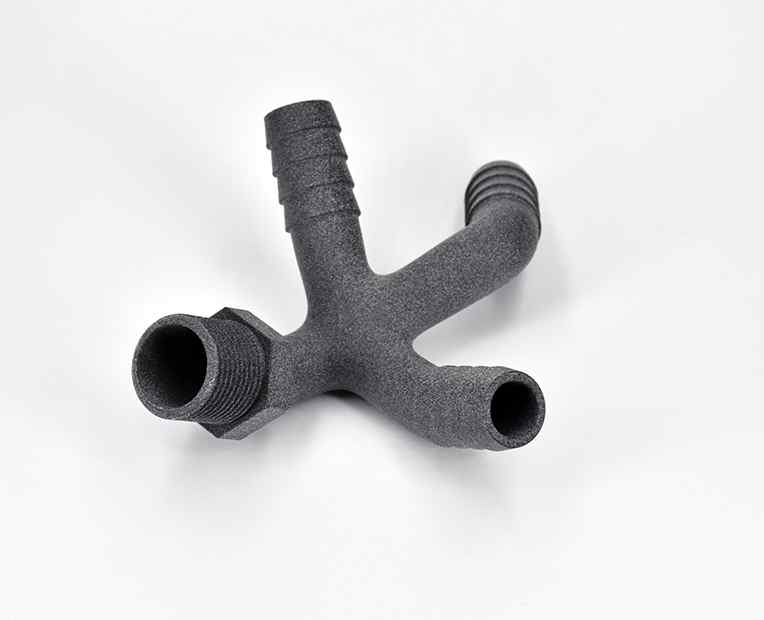
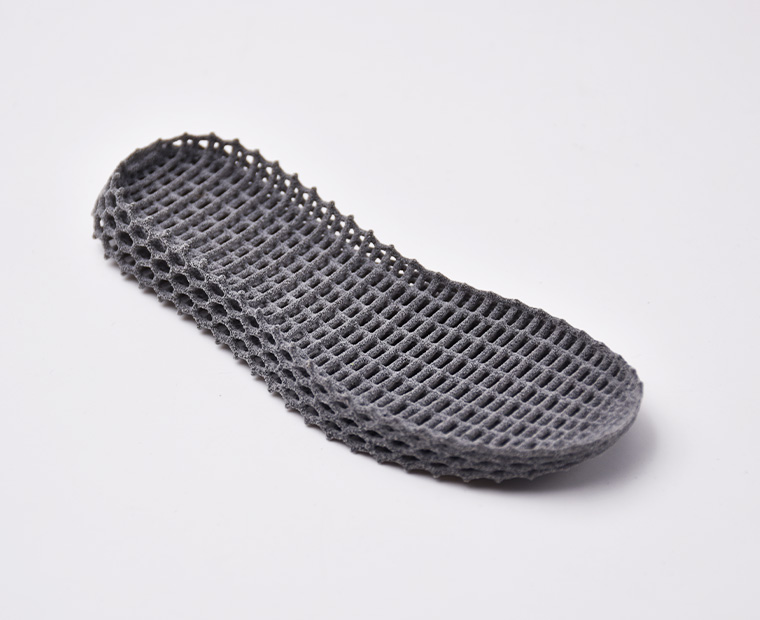
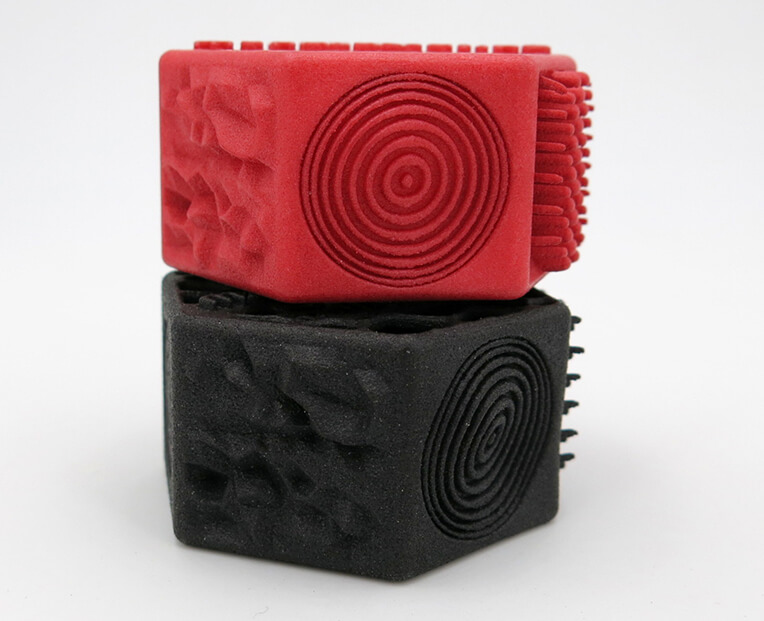
In this process a fusing agent is applied on a material layer where the particles are destined to fuse together. Then a detailing agent is applied to modify the fusing and create fine detail and smooth surfaces. To finish, the area is exposed to the energy that will lead to reactions between the agents and the material to create the part.
When the printing process is complete, the build box is removed from the printer. An operator carefully extracts the parts from the build box and removes the remaining powder thanks to brushes and air blowers.
1 – Prepare your 3D file
The first step to start your 3D printing process is to create a 3D file (STL file for example) of the part you need to create using a 3D printer. You can do this by using a 3D modeling software to create your object. Discover our selection of free CAD software to develop your project.
Preparing your 3D file for 3D printing with MJF is crucial; you will need a printable 3D file. As a 3D printing service, we see a lot of unique 3D printing projects, but we also see a lot of errors rendering some files non-printable. It’s possible for your file to be printable but your part can break in no time, be deformed, or not come out of the 3D printer as expected. In this article, we will help you with 3D printing troubleshooting for the most common 3D printing mistakes.
2- 3D printing process
First, the printer’s movable construction unit is inserted, and then, a thin coating of the powder material is deposited when the material recoater carriage advances across the construction area. As it moves across the build area, the printing and fusing carriage preheats the powder to a certain temperature to ensure material uniformity.
Agents are fused onto the powder bed in locations that match to the shape and characteristics of the component using a variety of inkjet nozzles. The construction unit retracts once each layer is complete to make room for the next layer of material to be deposited. Up till the project is finished, this process is repeated.
3- Post-processing
Move the build unit to the processing station after it has cooled, then vacuum the unfused powder. You can then use water, air, or bead blasting to remove any remaining powder. Post-processes can then be applied to the 3D-printed parts, such as polishing, dyeing, and many more.


 Connect with Google
 Connect with Facebook